Skirting boards finish the junction between a wall and floor and help protect the lower wall from everyday knocks. They also affect how a room feels: a slim painted board, a broad timber plinth and a recessed shadow gap each give the base of the wall a different character.
In American interiors content, skirting is usually called a baseboard. This guide looks at five design details, followed by the practical points to consider when choosing one for your home.
The following design illustrations show how the material, profile and relationship with the wall can change the result.
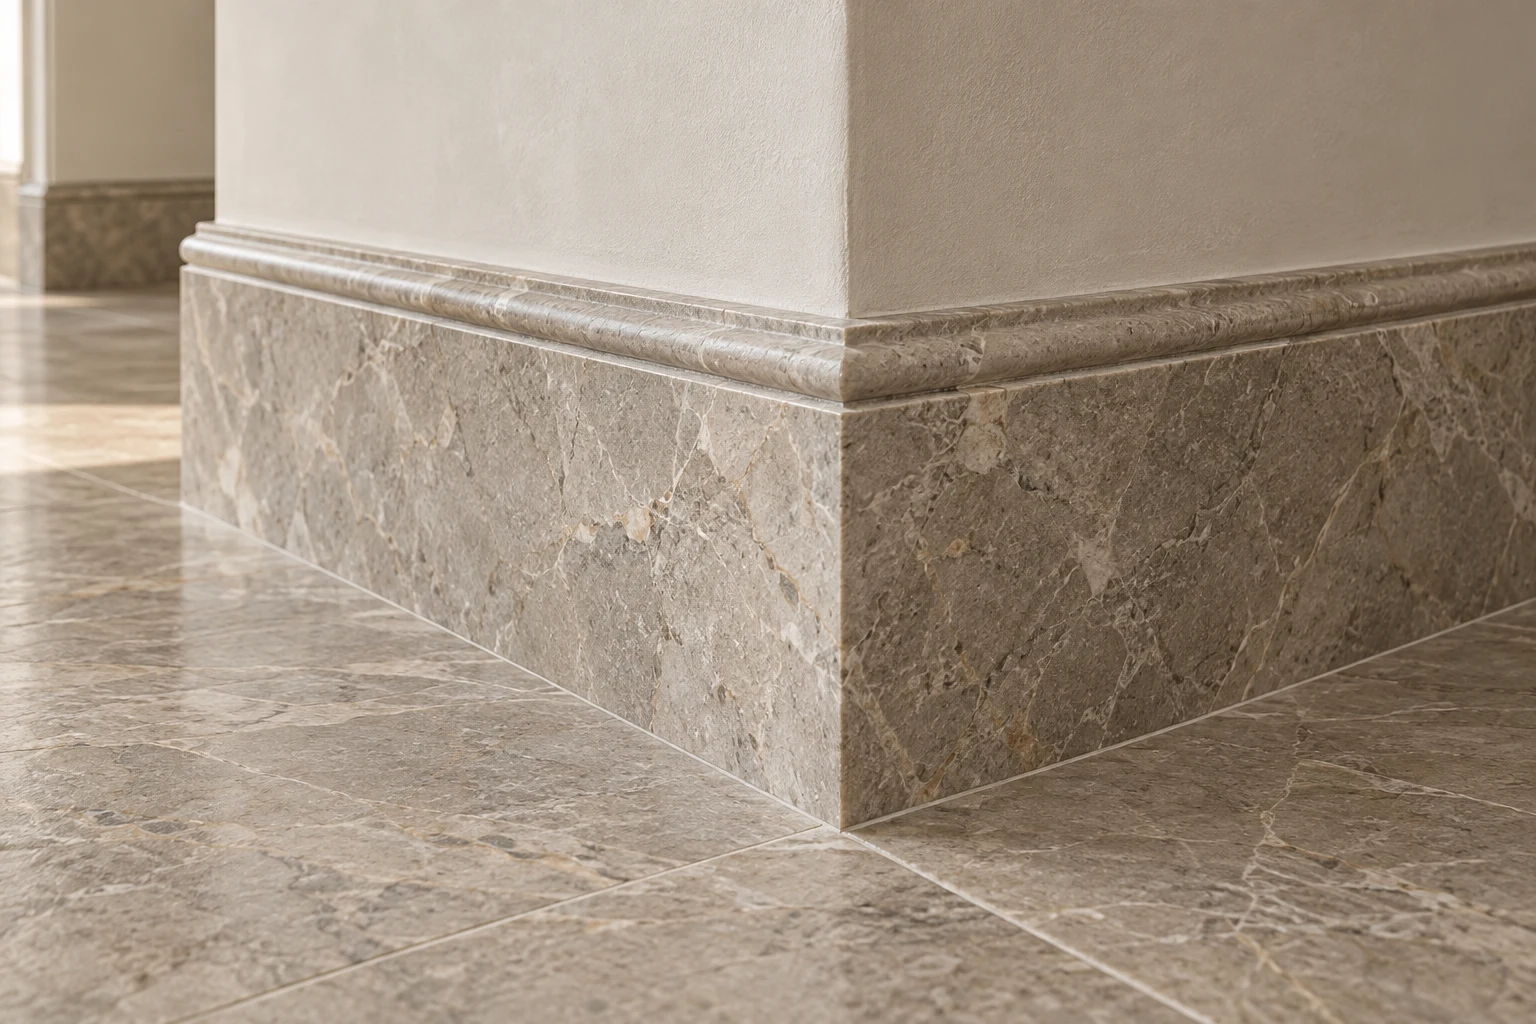
A broad stone base with a shaped cap gives the lower wall a substantial finish. The veining adds variation, while the cap creates a defined top edge. It can continue the material of a stone floor or contrast with timber. Agree the thickness, corner joints and door junctions before fabrication.
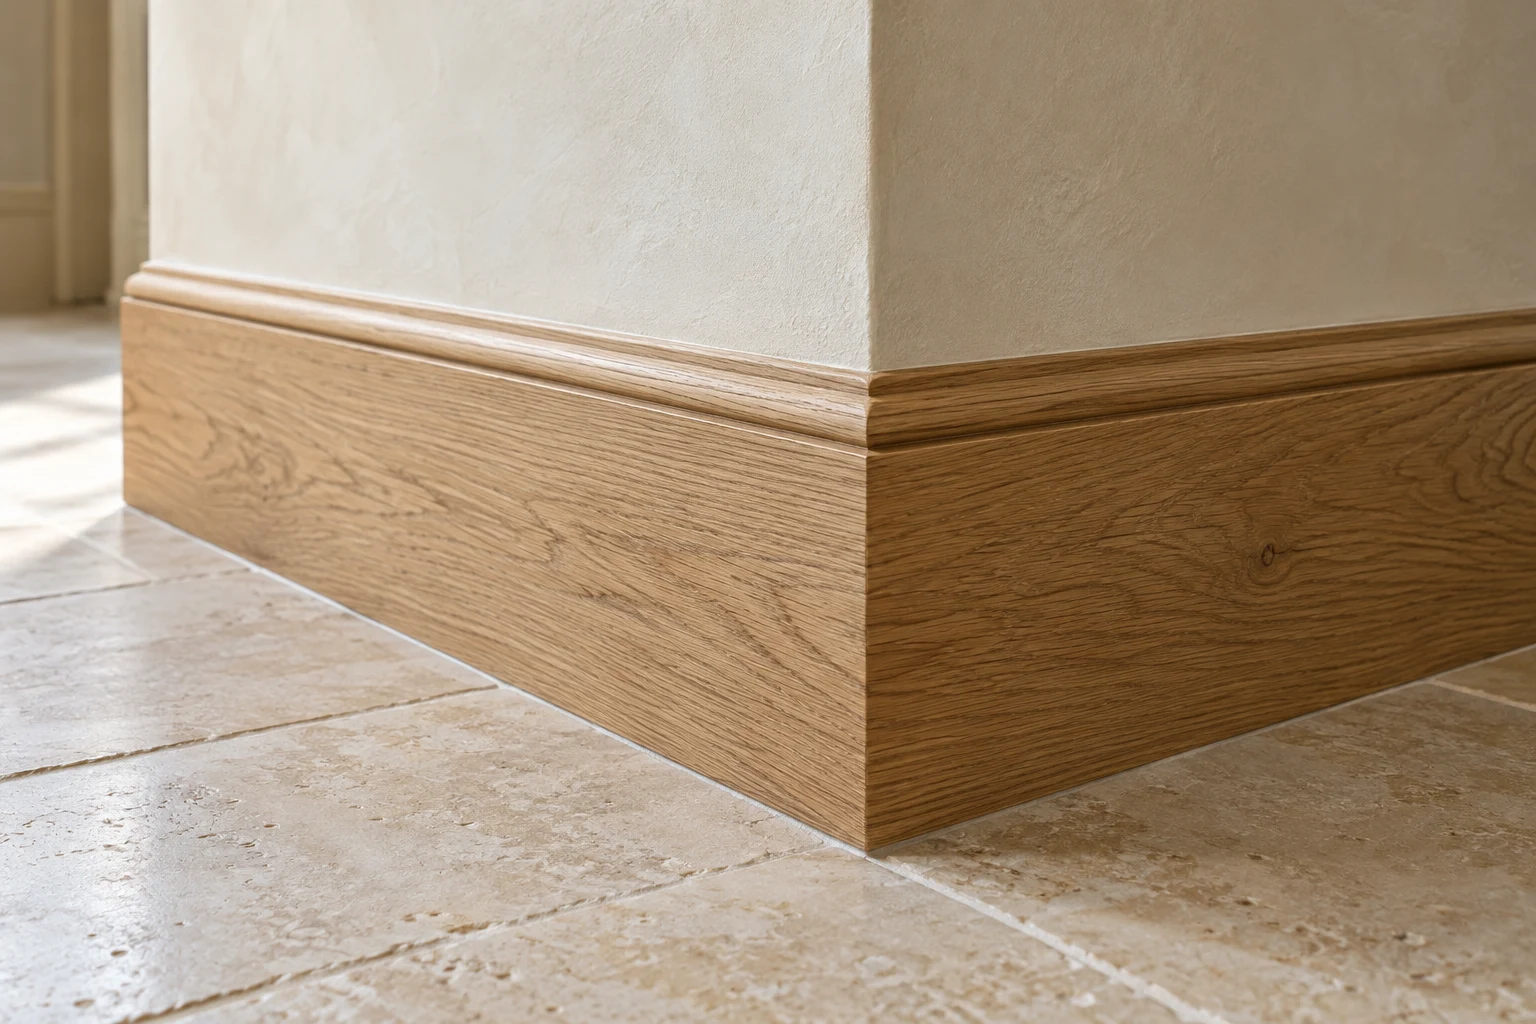
A wide, flat timber board topped with a slim cap creates a strong horizontal line around the room. Visible grain brings warmth, and the cap adds a little relief. Compare a finished sample with the flooring, doors and cabinetry, as similar wood names do not guarantee matching tones.
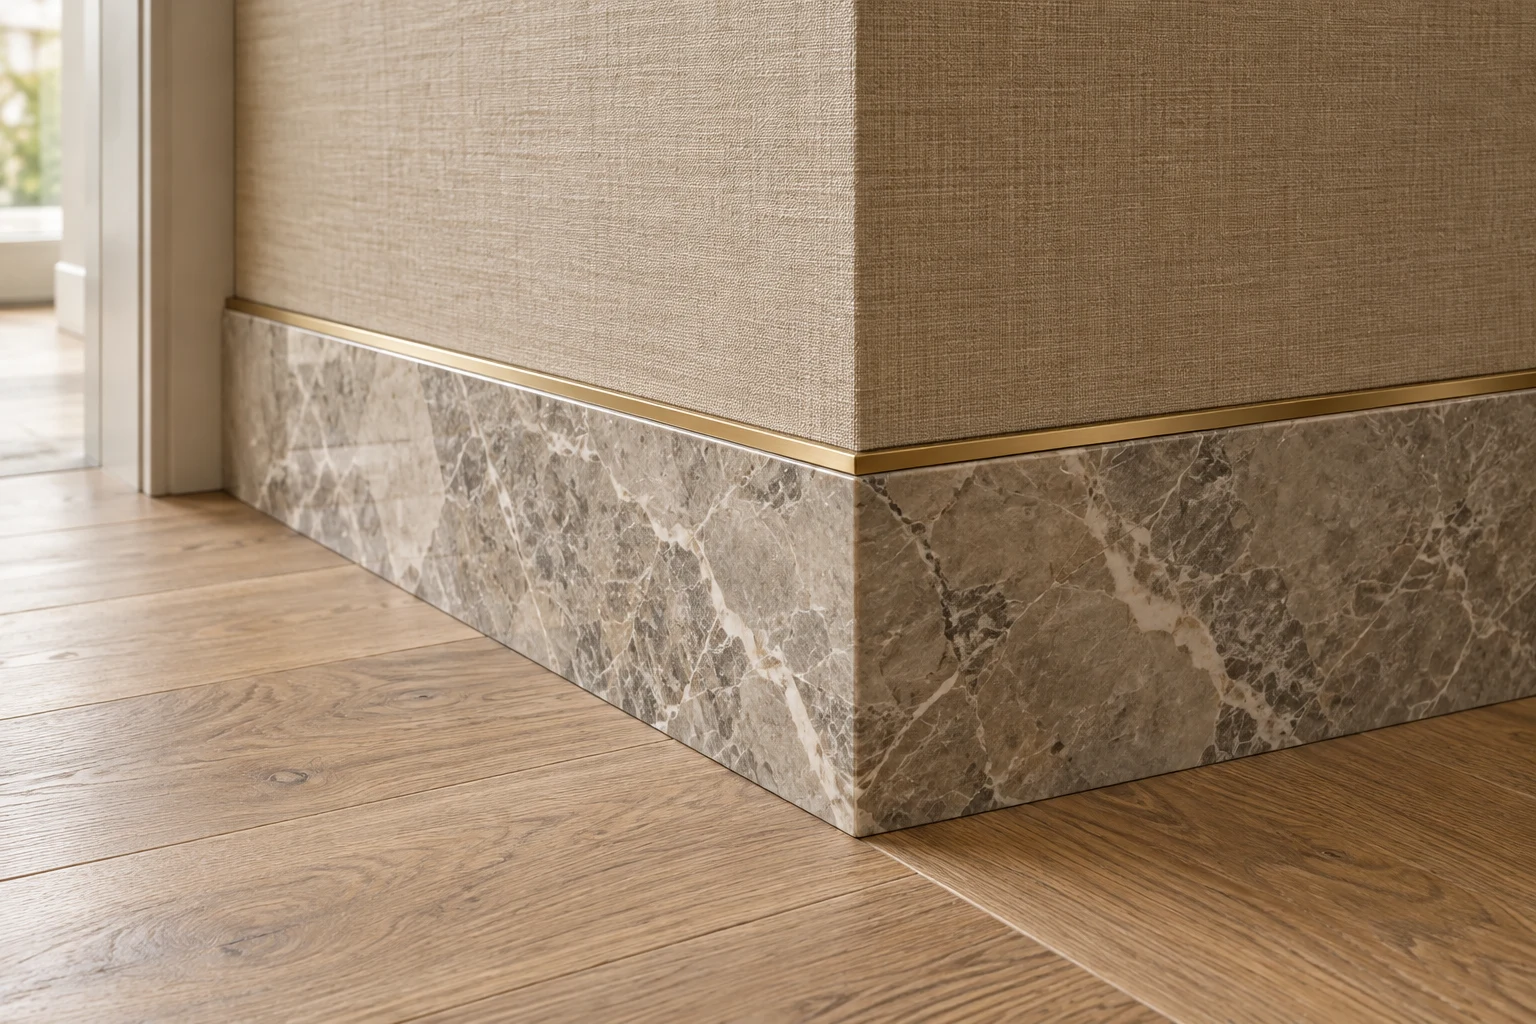
A narrow brass strip along the top of stone skirting separates it from the wall finish. The straight metal line gives a different effect from a moulded cap and can relate to nearby brass fittings. Plan how the trim turns corners and finishes at doorways.
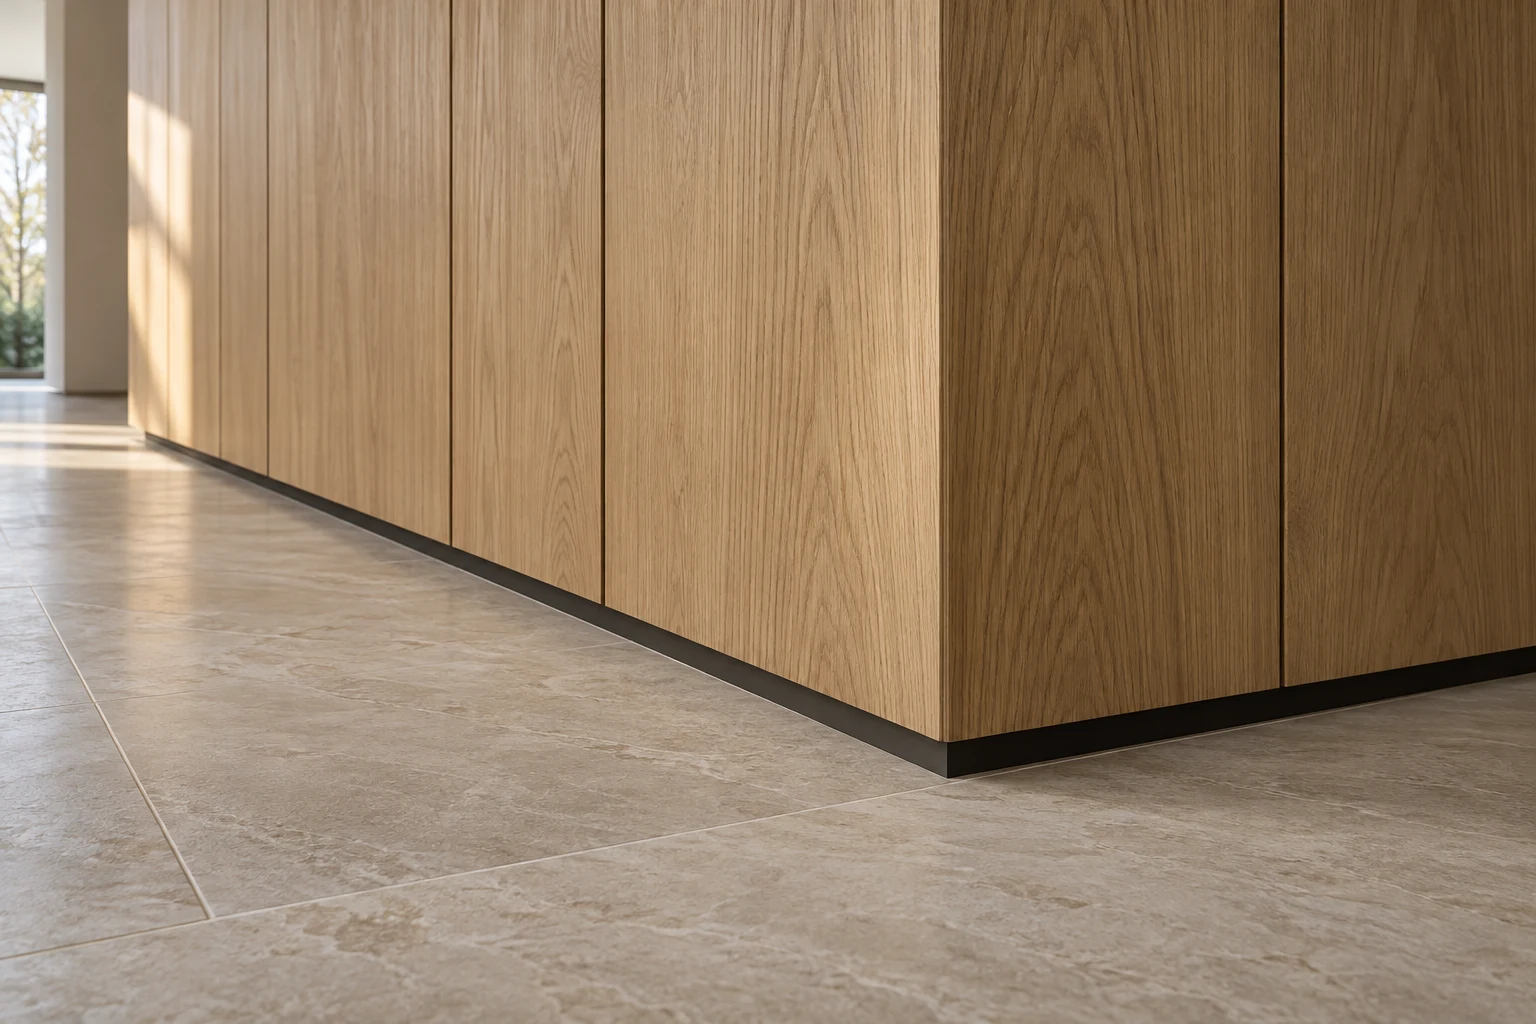
A recessed line at floor level creates a visually lighter base. Here, timber cladding stops above a dark reveal rather than a projecting skirting board. The detail needs coordinating with the wall build-up, finished floor and doors before installation. Consider cleaning access and protection of the lower wall.
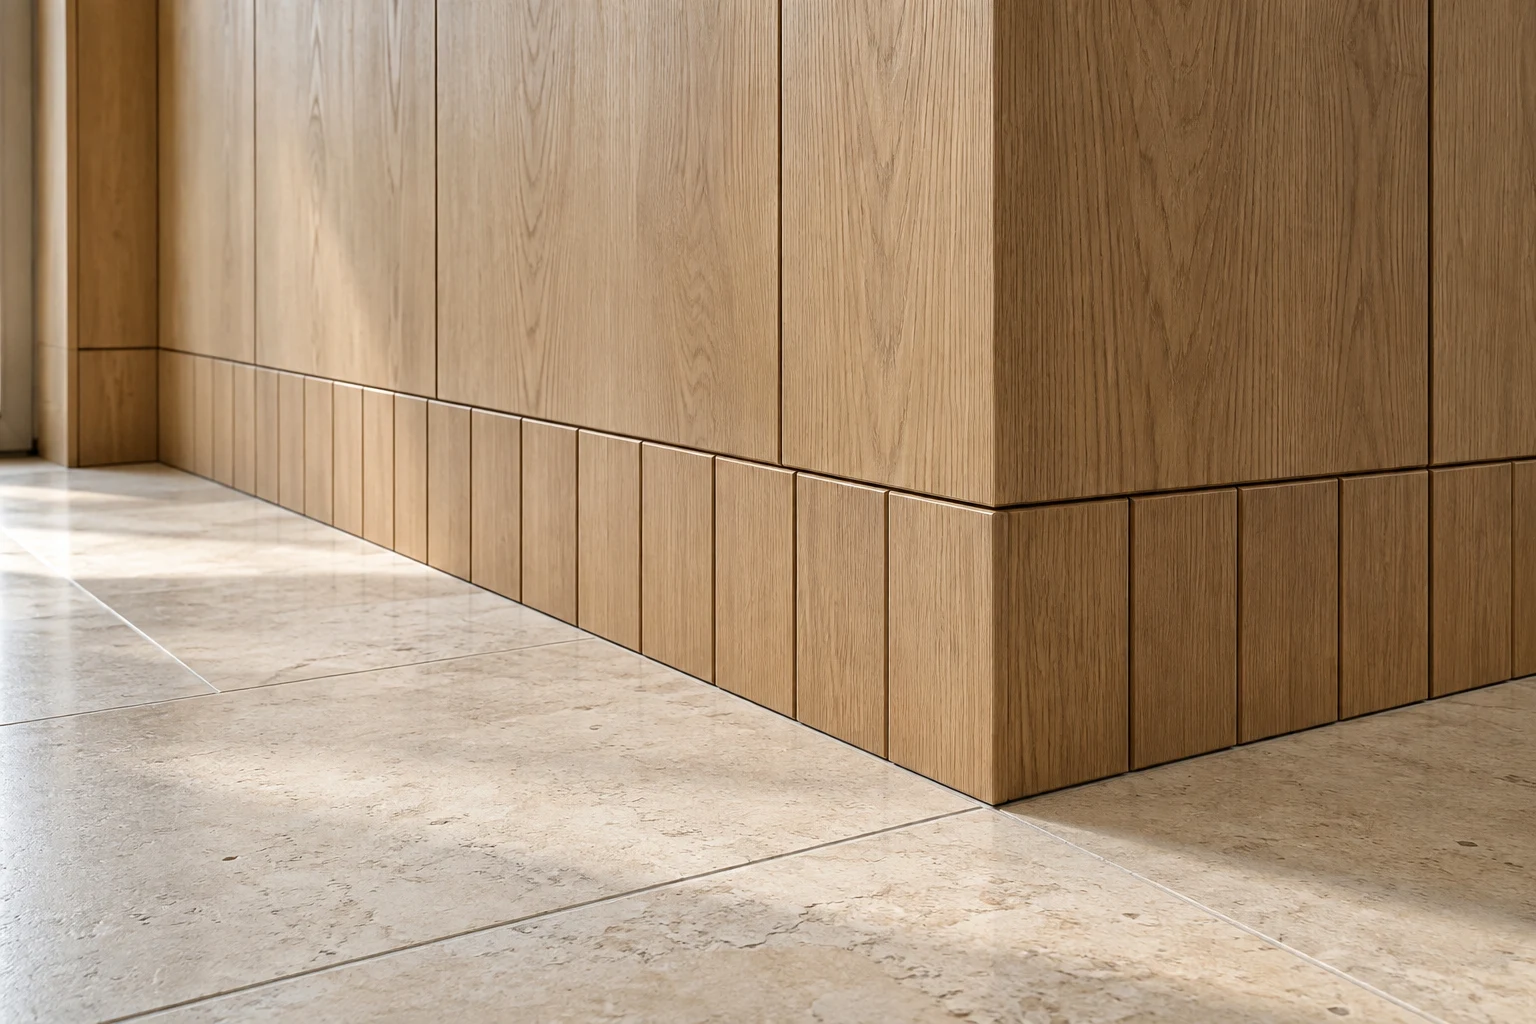
A lower band of smaller timber panels continues the wall material while adding a different rhythm at floor level. A horizontal division defines the base without introducing another finish. Plan the panel widths, corner returns and junctions with doors as part of the complete joinery scheme.
Judge the skirting alongside the ceiling height, doors and architraves, the mouldings around door openings. Tape paper strips to the wall at a couple of proposed heights and view them from the doorway. Check that the thickness meets the door surround neatly and covers the flooring gap. Measure from the finished floor level if new flooring is planned.
MDF offers a consistent surface for painted skirting; timber allows the grain to remain visible. Moisture-resistant MDF is not waterproof and still needs suitable sealing and coating, especially on cut edges. For stone or exposed timber, approve a representative finished sample beside the actual flooring.
A bespoke detail is not always necessary. Square-edge and chamfered boards keep the outline restrained, bullnose adds a rounded top, and Torus or Ogee profiles introduce more decorative shaping. Compare the actual sections rather than relying on their names, as profiles vary between manufacturers.
Agree how corners, short returns and door junctions will be finished. Prominent joints should fit neatly before decoration. With floating flooring, the skirting should cover the specified expansion gap while allowing the floor to move beneath it.
Flush and shadow-gap details need planning before the wall and floor finishes are completed. Conventional boards are easier to replace in an existing room, but the wall condition and fixing method still need checking. Where original skirting survives, consider retaining or repairing it before choosing a replacement.
Bring the skirting, flooring and door details together. Confirm the profile, dimensions, finish and corner treatment, and check whether the quotation includes removal, wall repairs, fitting and decoration. Choosing these details together makes it easier to achieve a consistent finish throughout the room.
Holcman Construction provides residential refurbishment services across London. To discuss skirting, flooring and joinery as part of your project, contact the team.
