Wall panelling and decorative mouldings add detail through shape, proportion and shadow. Slender frames can define a painted wall, while timber boards or slats introduce a more noticeable change of material and texture.
Applied mouldings usually leave the wall visible inside their outlines. Boarded panelling covers the surface, while wainscoting simply describes a treatment confined to the lower wall. The illustrations below show six approaches, followed by advice on spacing and fitting.
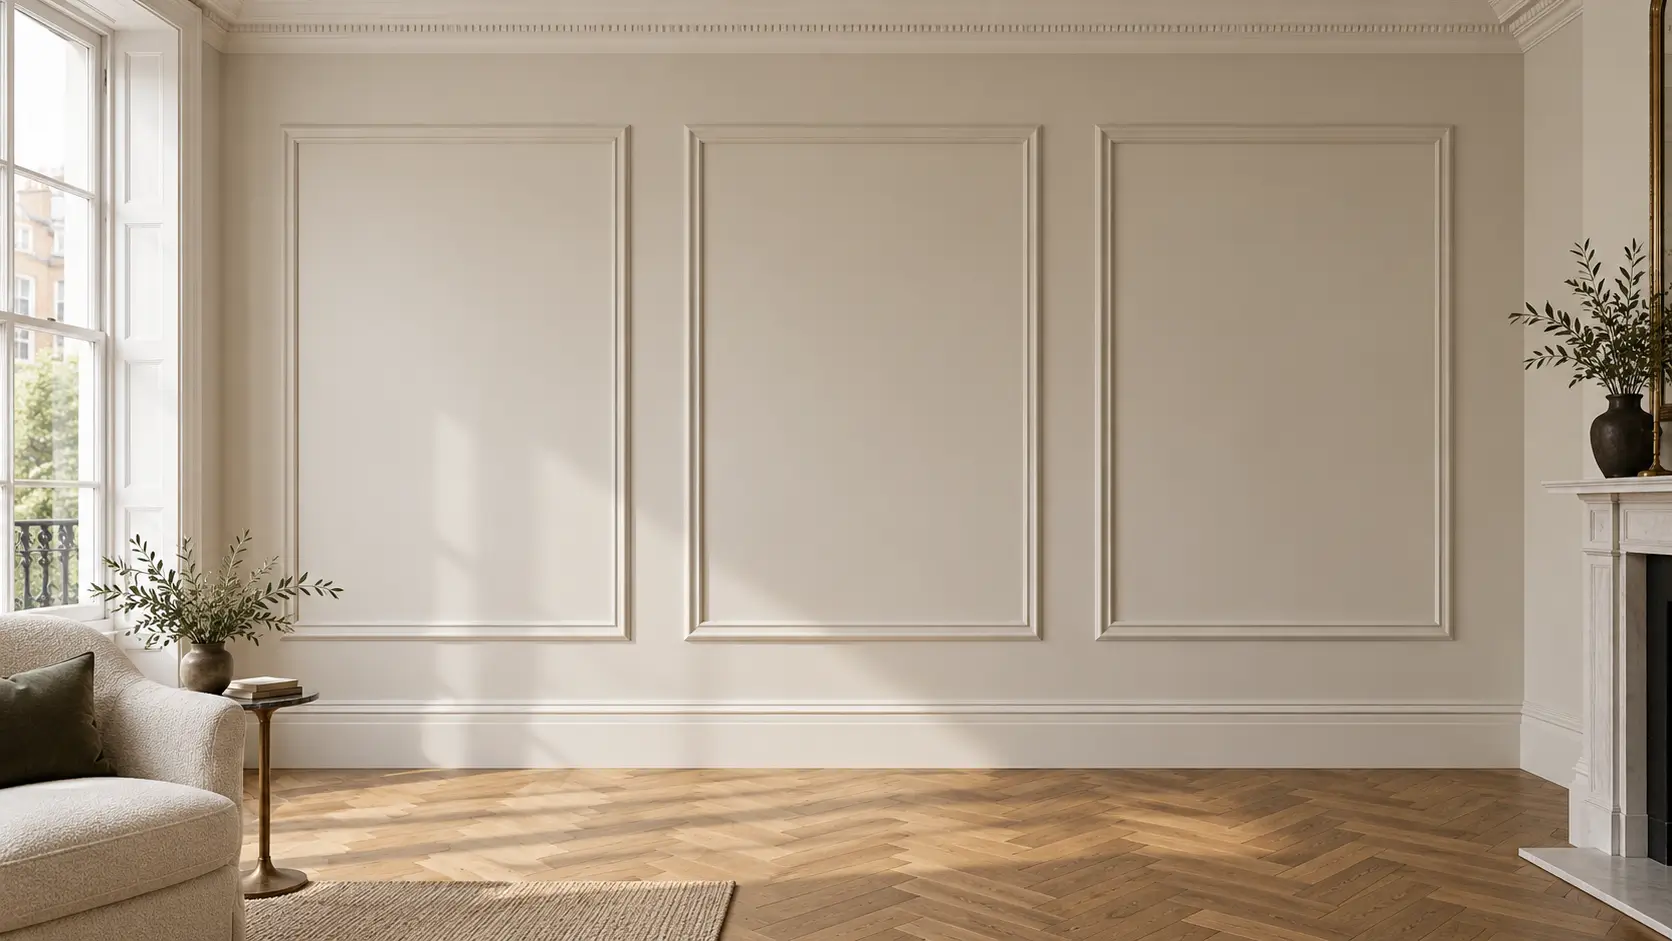
Narrow decorative profiles form rectangles on the wall, leaving the plaster visible inside. Tall frames can add definition to a living or dining room, while smaller frames beneath a dado rail give a quieter treatment. Compare the profile with existing door mouldings before choosing.
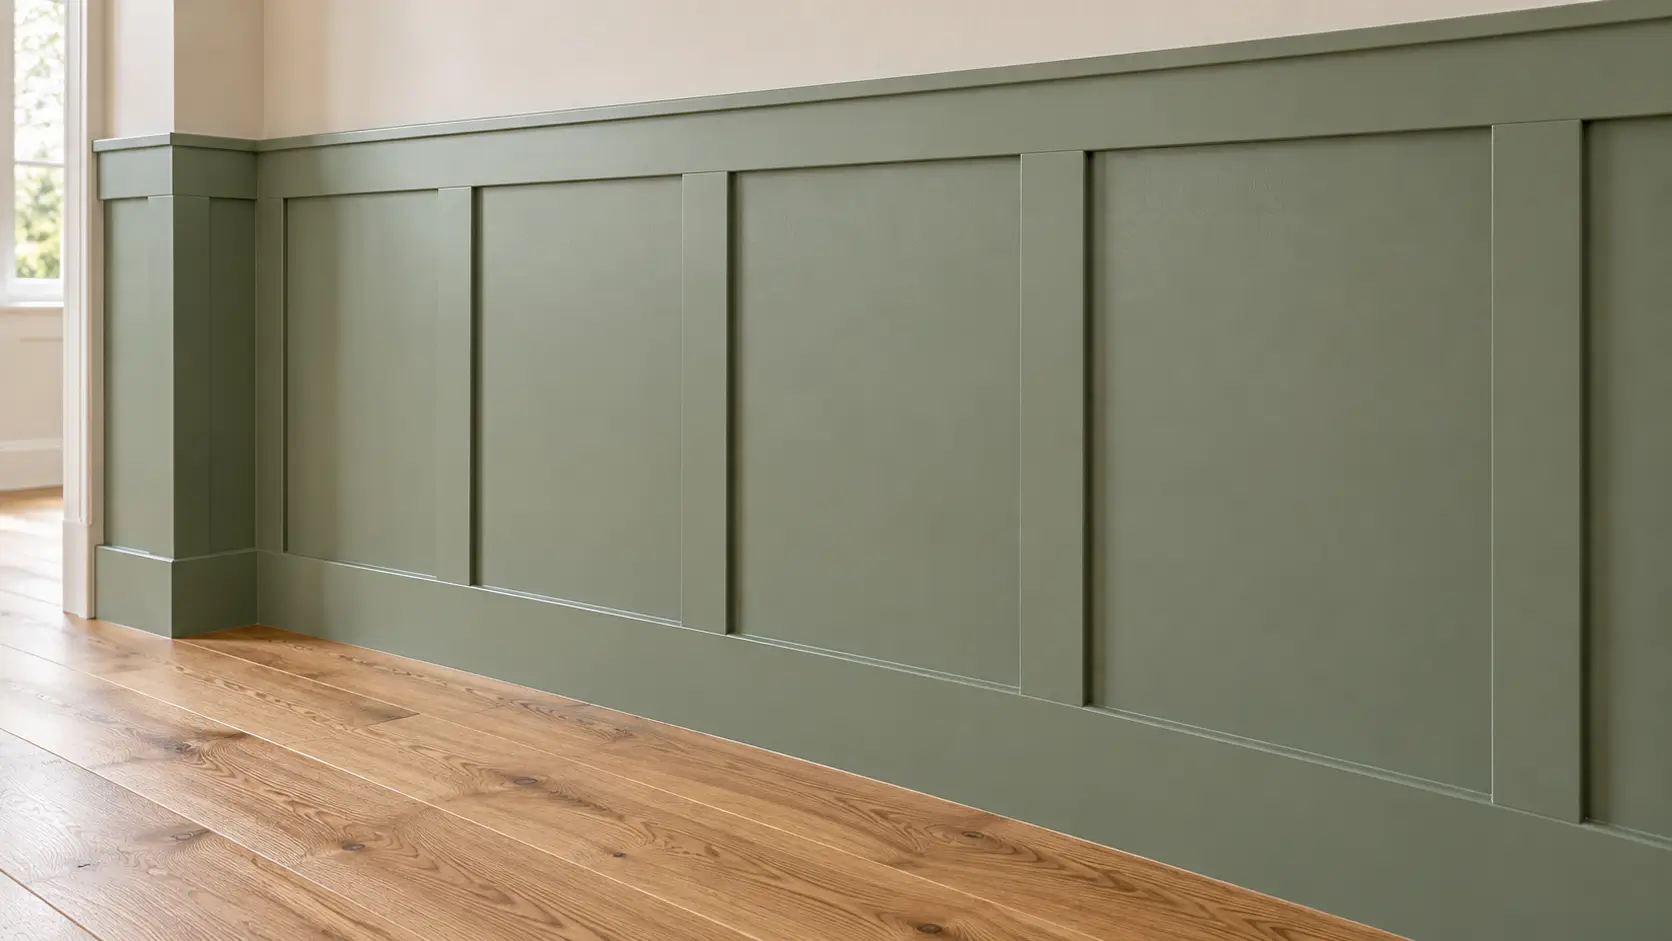
Broad, flat strips form simple rectangular or square panels. The square edges give this style more visual weight than slender mouldings. Decide whether the existing wall will form the panel face or whether a backing sheet is needed, as this changes the depth at doors and skirting.
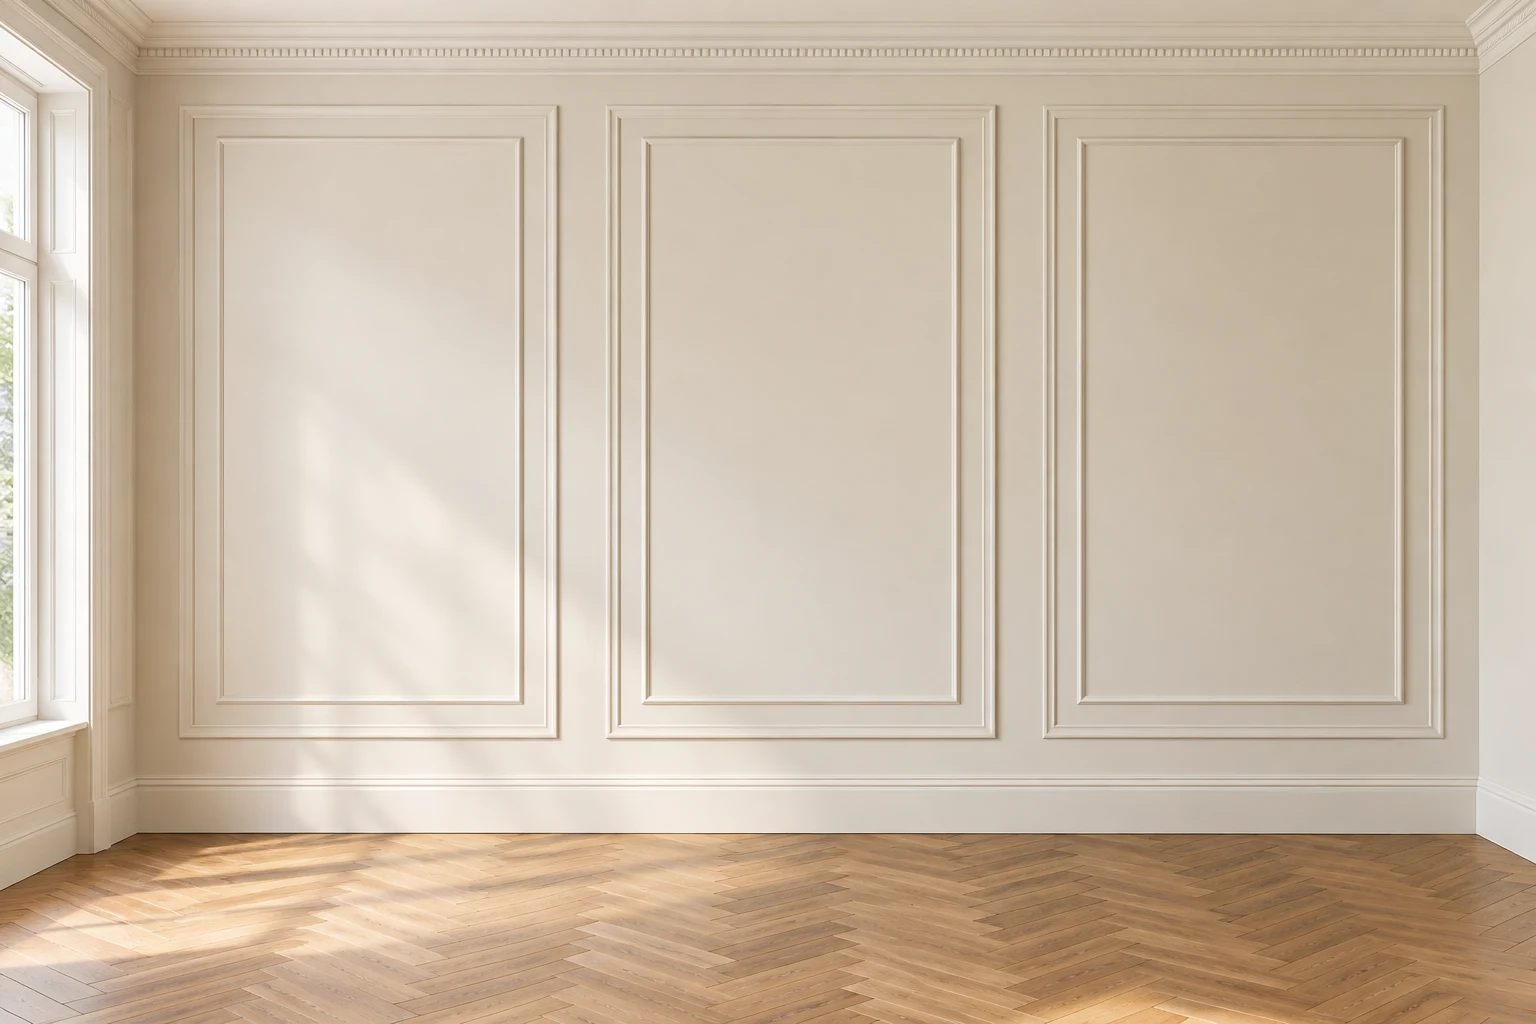
A smaller frame inside the outer one adds another layer of detail. Leave enough space for both profiles to read clearly and keep the inset consistent. A full-size taped outline is useful for judging whether the extra frame suits the room or makes the wall too busy.
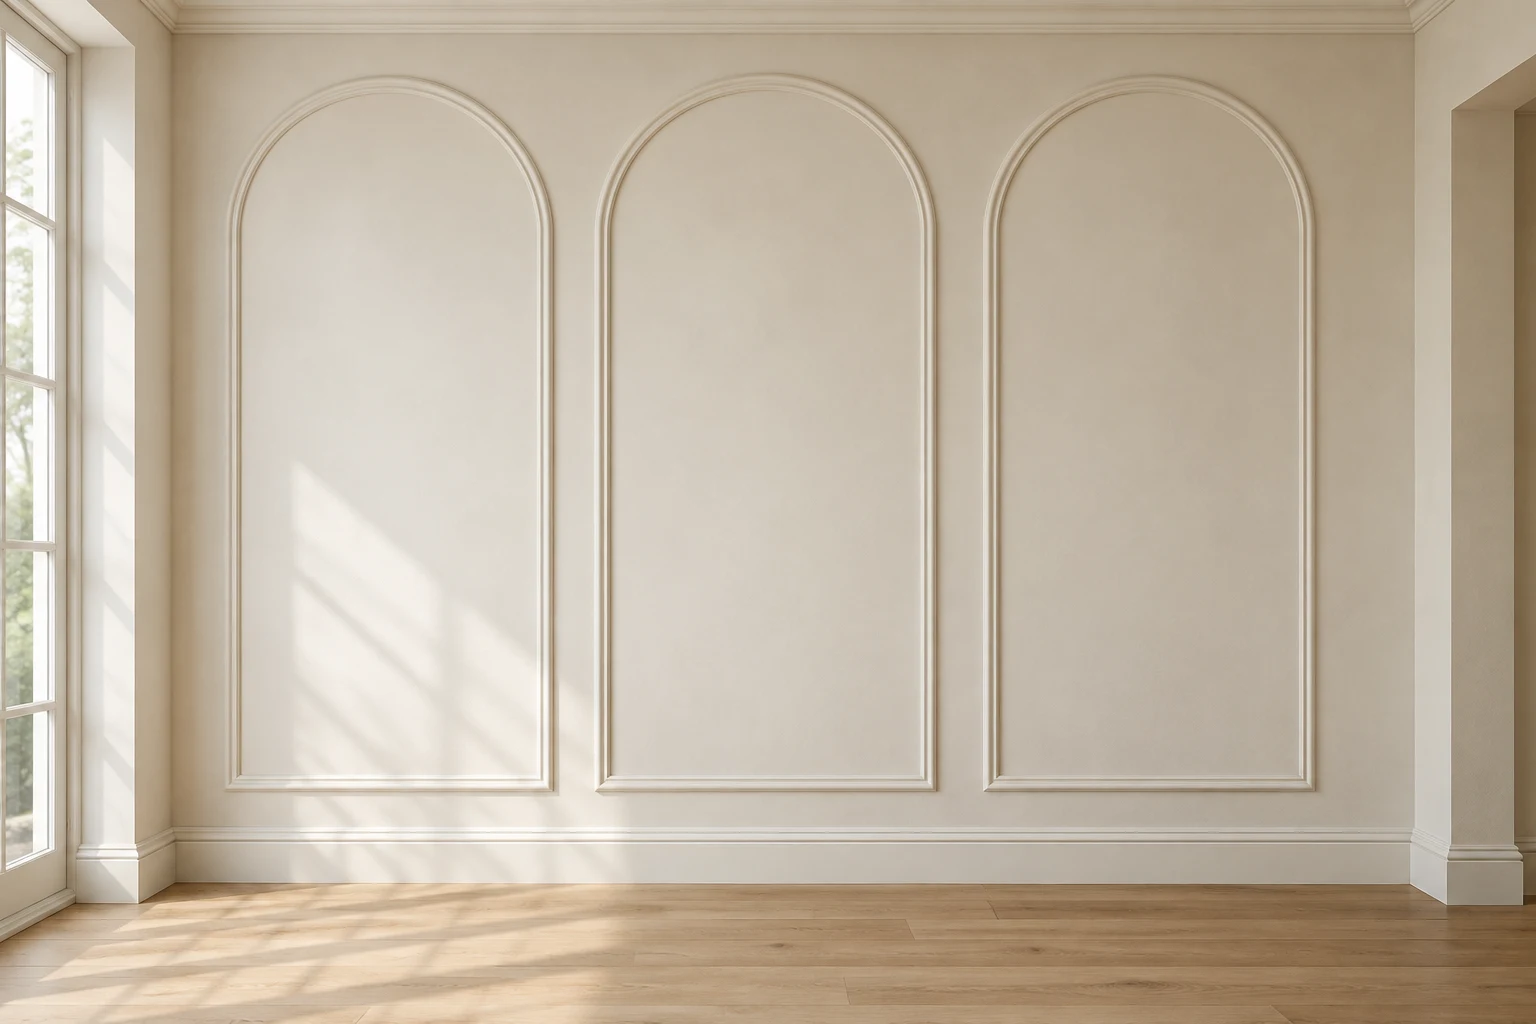
Curved tops soften the rectangular layout and can create a feature behind a bed or across a broad wall. The radius and spacing need planning together. Confirm that the proposed moulding can form the required curve, as flexible products have limits and different bending directions.
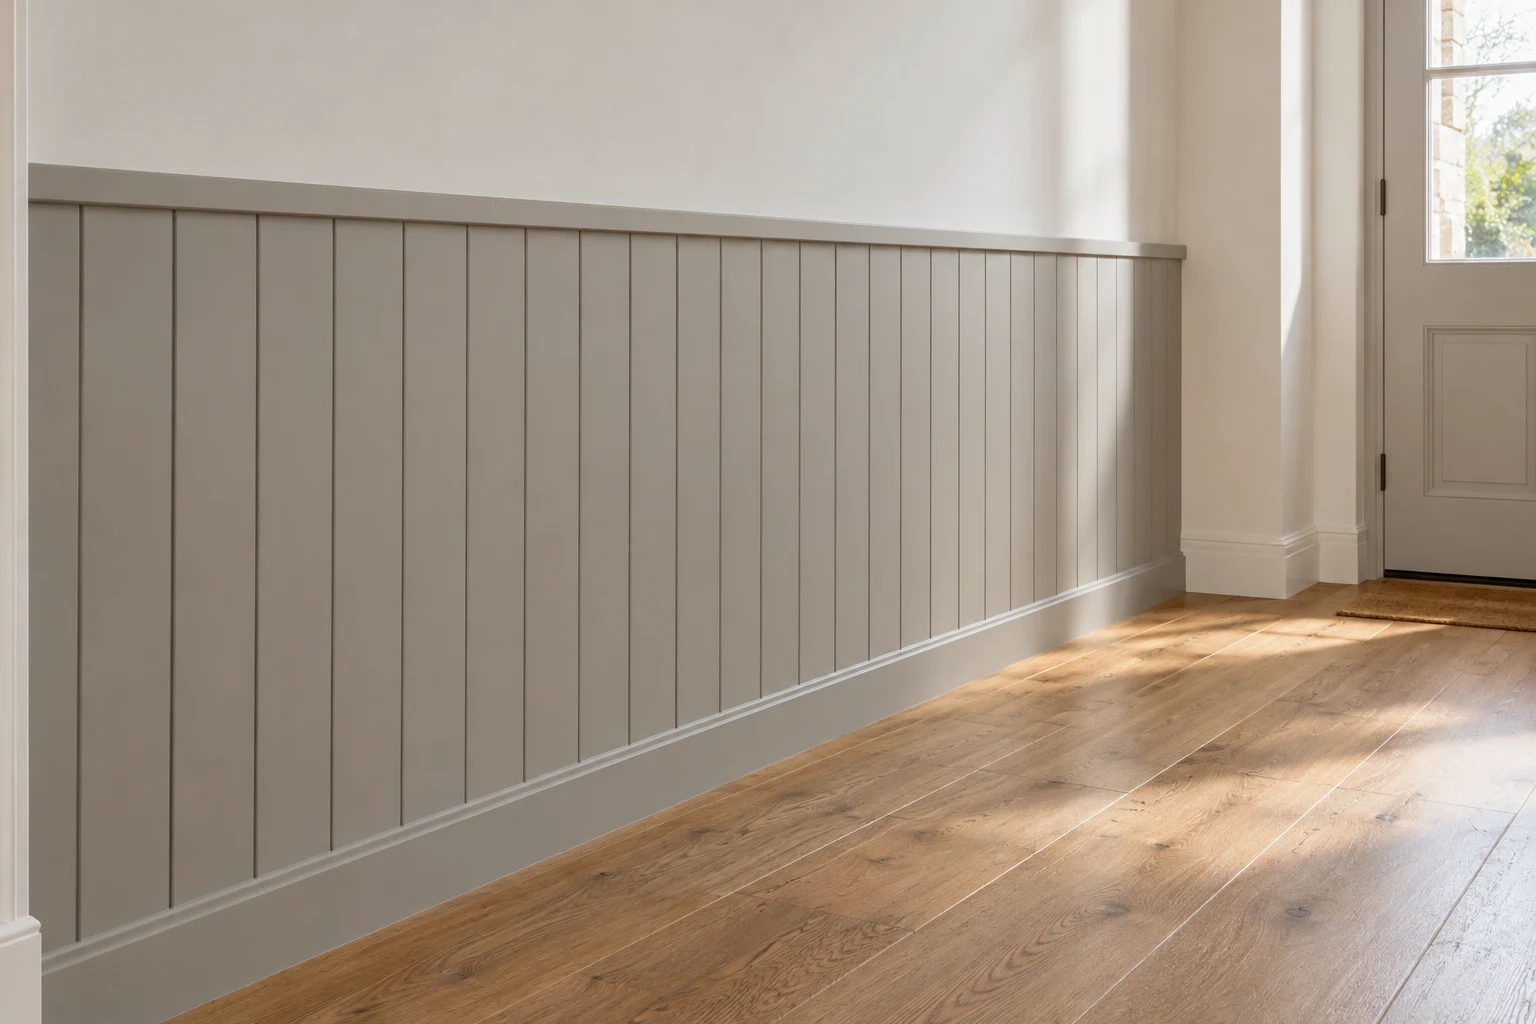
Interlocking boards create a repeated linear pattern, with similar finishes also available as machined sheets. Vertical boards give a different rhythm from horizontal ones. Check the backing, board thickness and top cap together so the finished panelling meets doorways and exposed edges neatly.
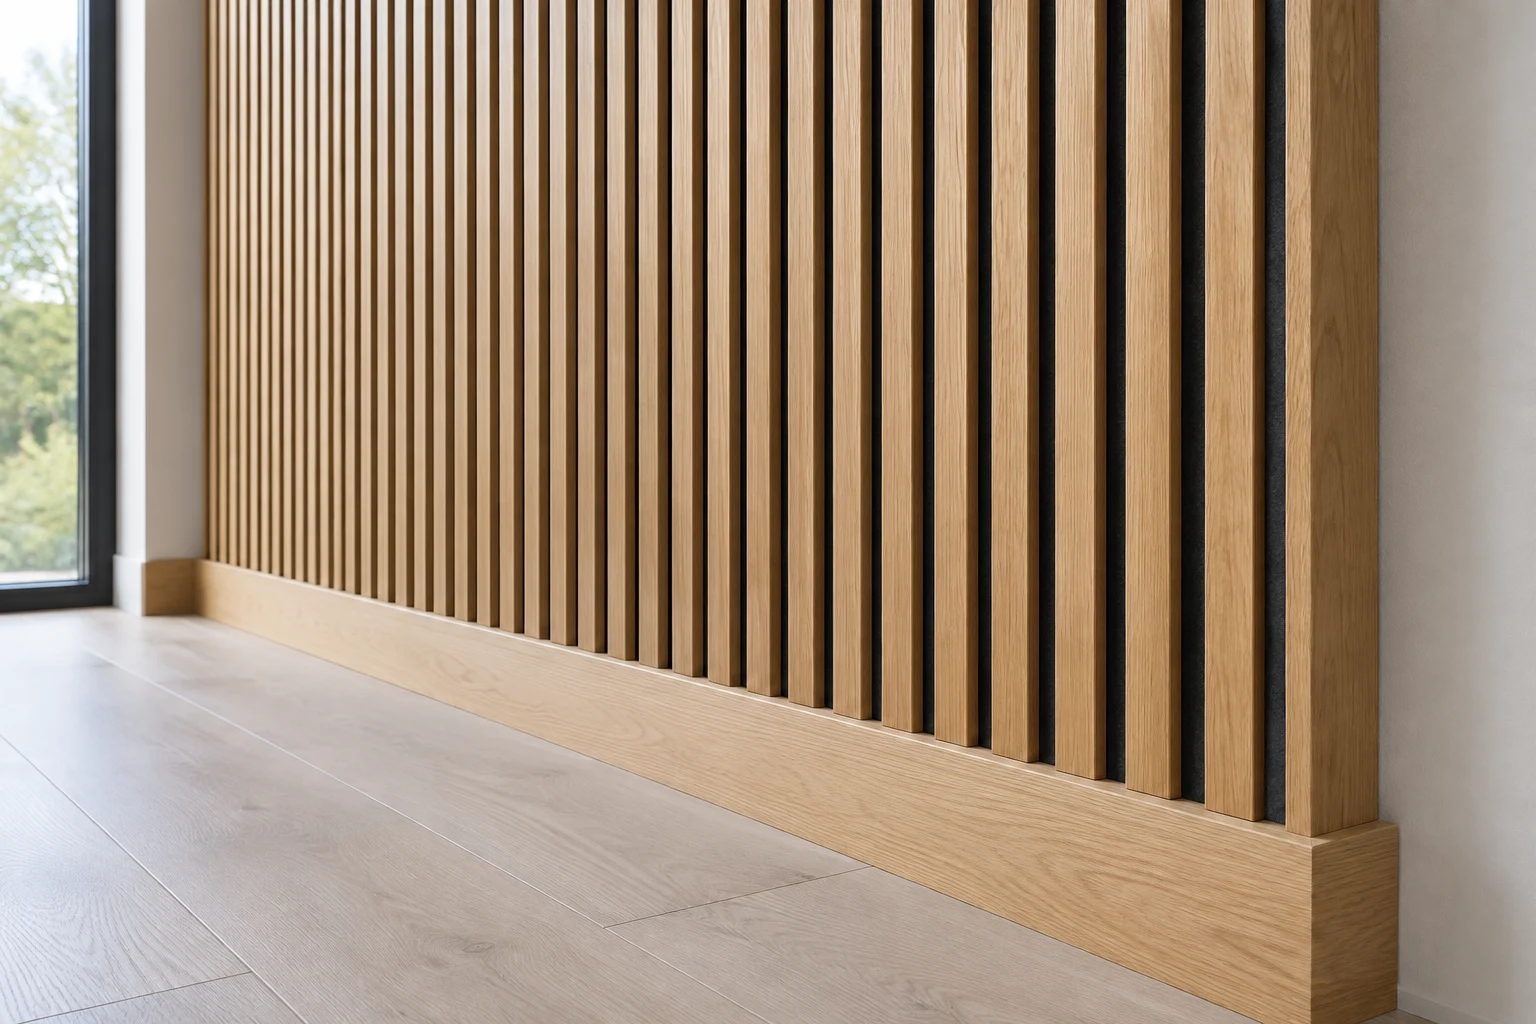
Fluted surfaces use repeated grooves; slatted panels use individual strips, often on a backing. Both create texture through light and shadow. Look closely at exposed edges and corners. If acoustic performance matters, check the product’s tested installation rather than assuming every textured panel absorbs sound.
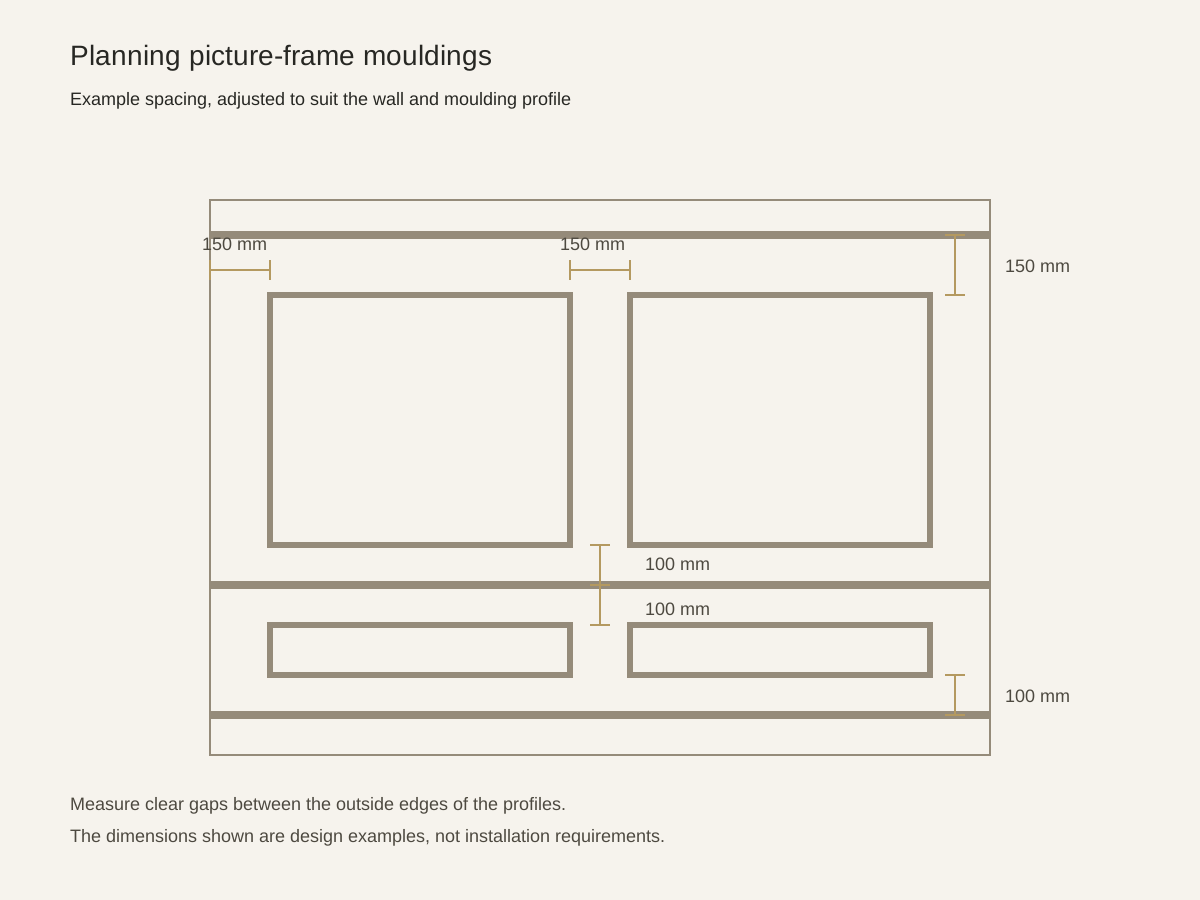
The gaps around the frames matter as much as the frames themselves. Keep side margins consistent where the wall allows, align upper and lower panels, and check the spaces above and below a dado rail. For double frames, judge the inset between the two profiles alongside the gaps between panels.
The diagram shows example clear gaps of 100 and 150 mm. These are starting points for that composition, not fixed rules. Adjust them to the wall width, ceiling height and profile, measuring between the outside edges of the mouldings.
Draw the whole wall, including doors, sockets, lights and furniture. Avoid squeezing a narrow panel into the remaining space at one end. Tape the proposed outlines onto the wall at full size and view them from the doorway before fitting.
MDF is useful for painted strips and panels, while timber keeps the grain part of the design. Moisture-resistant MDF still needs suitable sealing and coating and is not waterproof. Manufactured decorative mouldings offer another option; follow the supplier’s instructions for adhesives and joints.
Painting the wall and mouldings the same colour lets the relief provide the detail. Contrasting colours emphasise the pattern. Test the finish in the room, where side lighting can reveal joints and surface defects.
Start with sound plaster and address loose paint or damp before covering the wall. Applied frames leave the surface visible, so preparation remains part of the finished result. A backing sheet changes the depth and needs coordinating with skirting and door surrounds.
Plan sockets and wall lights with the layout, and agree how the panelling ends at windows, doorways and corners. Check whether the quotation includes preparation, edge details and decoration. In period interiors, consider retaining existing joinery before introducing new work.
Holcman Construction provides residential refurbishment services across London. To discuss panelling alongside your room’s joinery, lighting and finishes, contact the team.
